
XLSION 7/8 "Twist рукоятка управления дроссельной заслонкой на руле Ручные Захваты ATV
486,89 руб.

Новое поступление
Характеристики
*Текущая стоимость уже могла изменится. Что бы узнать актуальную цену и проверить наличие товара, нажмите "Добавить в корзину"
| Месяц | Минимальная цена | Макс. стоимость | Цена |
|---|---|---|---|
| Mar-20-2026 | 0.65 руб. | 0.24 руб. | 0 руб. |
| Feb-20-2026 | 0.16 руб. | 0.12 руб. | 0 руб. |
| Jan-20-2026 | 0.11 руб. | 0.26 руб. | 0 руб. |
| Dec-20-2025 | 0.16 руб. | 0.53 руб. | 0 руб. |
| Nov-20-2025 | 0.8 руб. | 0.9 руб. | 0 руб. |
| Oct-20-2025 | 0.58 руб. | 0.44 руб. | 0 руб. |
| Sep-20-2025 | 0.32 руб. | 0.86 руб. | 0 руб. |
| Aug-20-2025 | 0.44 руб. | 0.14 руб. | 0 руб. |
| Jul-20-2025 | 0.13 руб. | 0.94 руб. | 0 руб. |
Описание товара


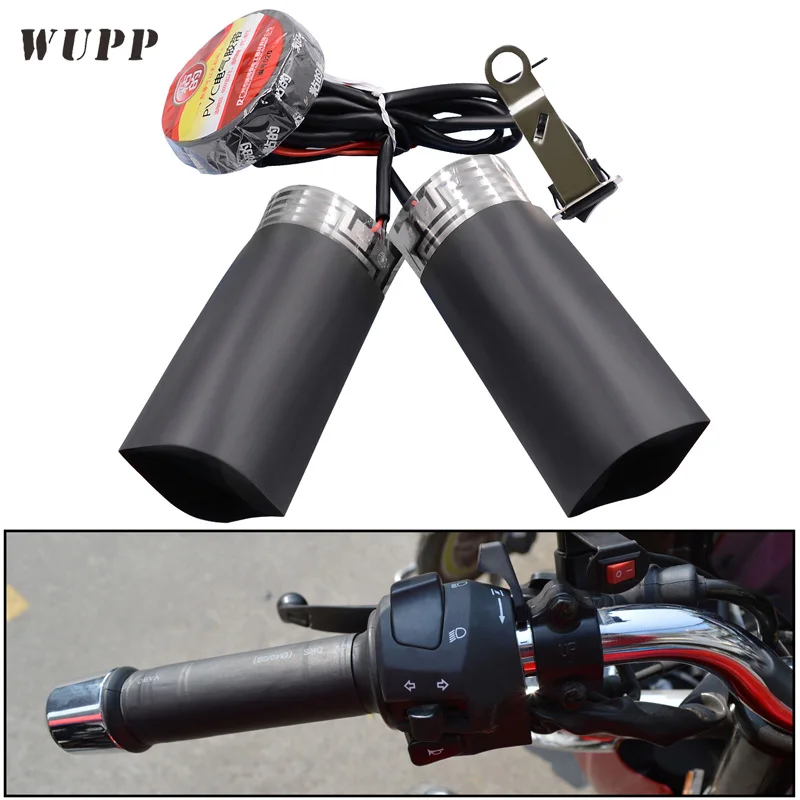
WUPP Motorcycle Dc12V Heated Handle Grip Universal Warmer Motorcycle Grips DIY Winter Grips Motorcycle For Suzuki
Product Specification
1. Product Name: 12V the third generation electric hand handle
2. Product model: CS-054B1
3. Product net weight: 75g
4. Product gross weight: 82g
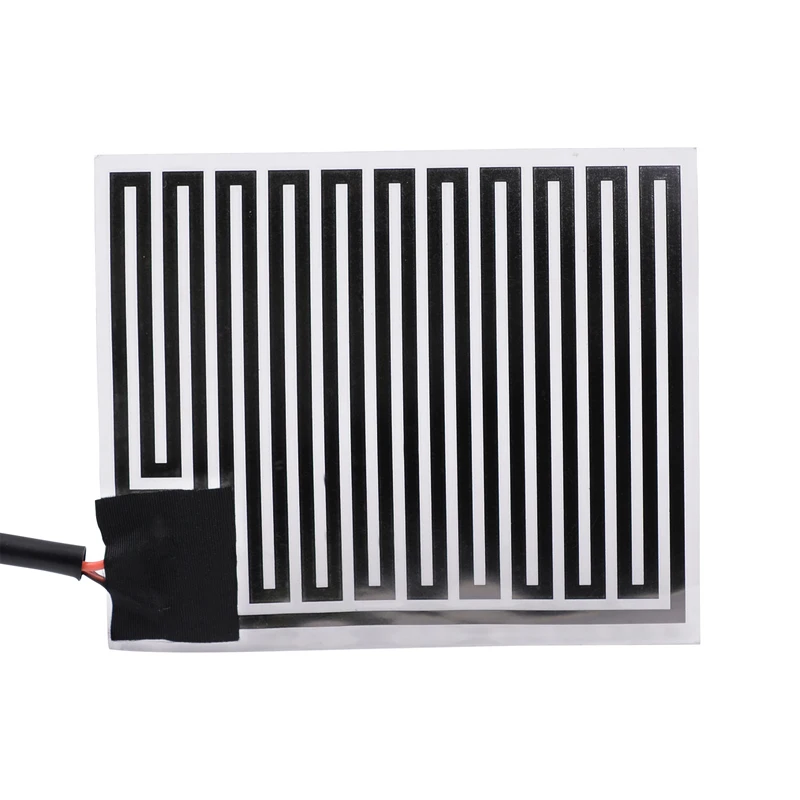
5. Product material: PET metal heating film
6. Product size: Length: 9.5CM; Width: 8cm
7. Input voltage: 12V
8. Product power: 10W*2
9. Handle temperature: low temperature: 30 ° C; high temperature 50 ° C - 60 ° C
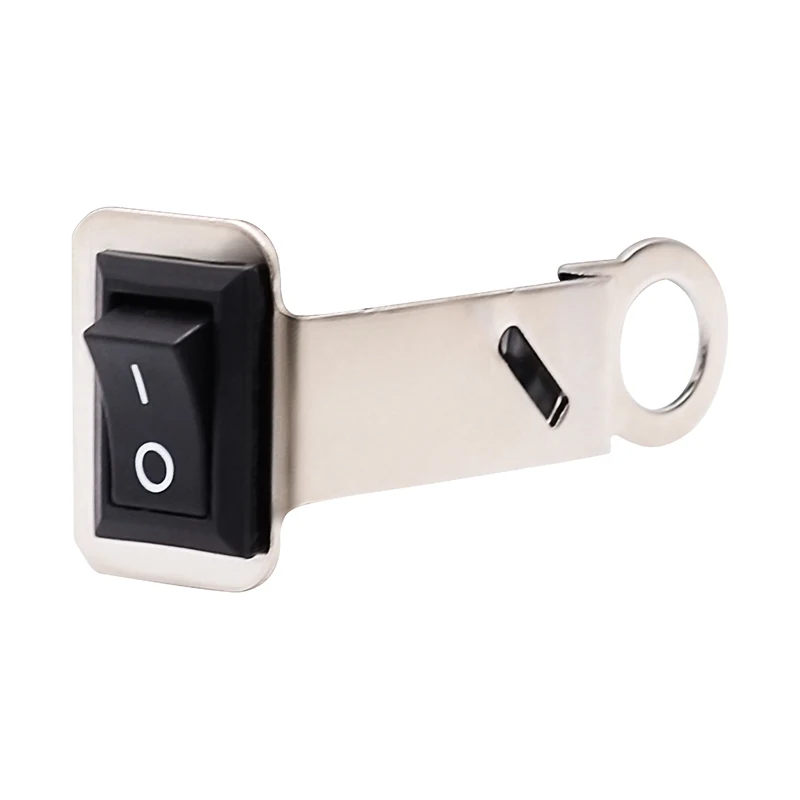
10. Switch type: Ship type waterproof and dustproof switch
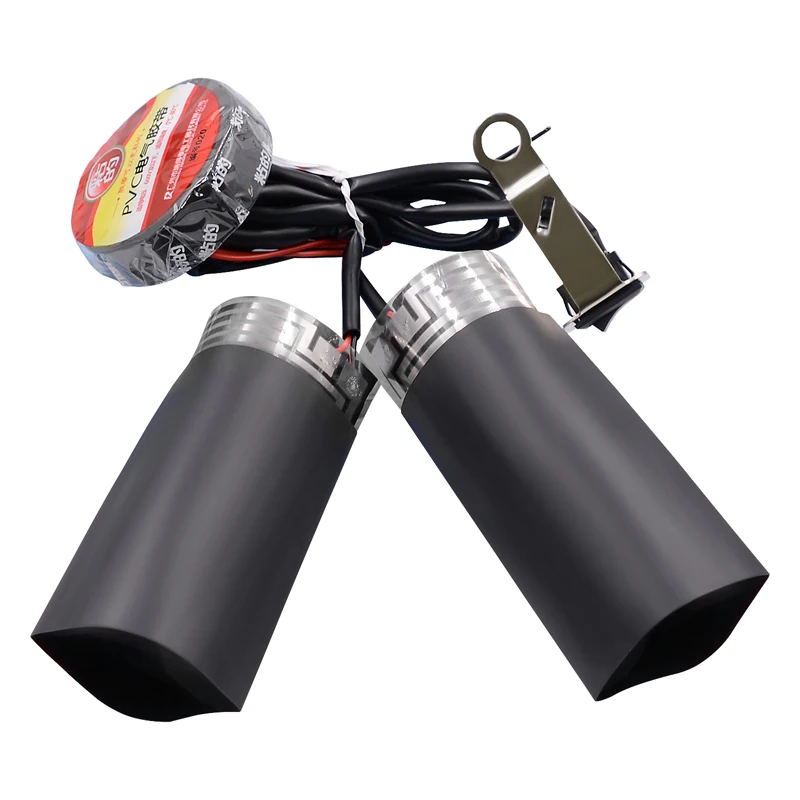
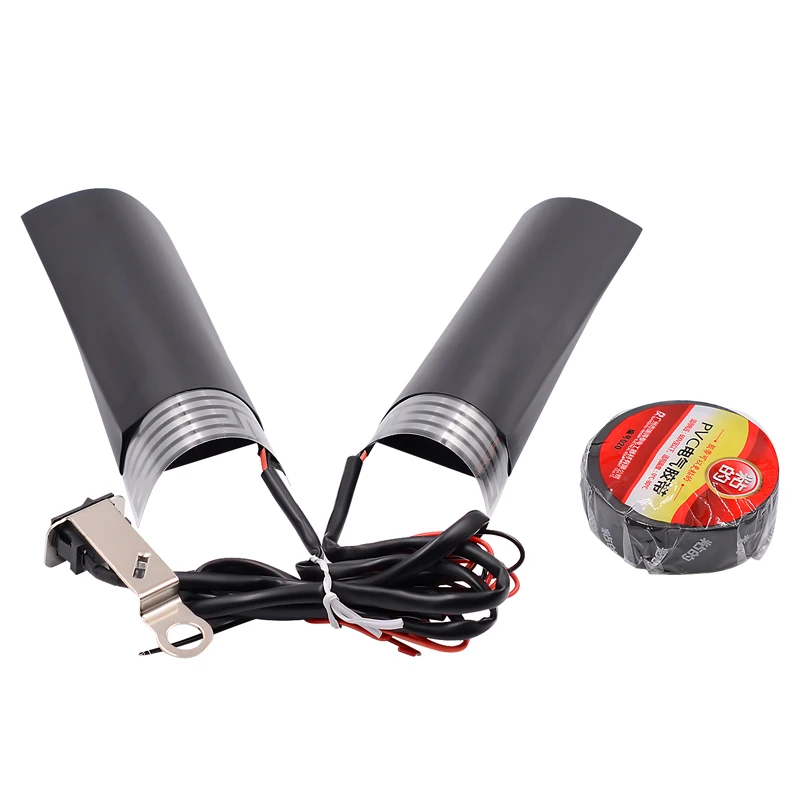
11. Product accessories: a pair of left and right handles, a pair of heat shrinkable sleeves; one waterproof insulating tape; one manual
12. Applicable models: 12V all motorcycle models
Product Advantages
1. Simple modification method, that is, non-destructive appearance, easy to operate, easy to install
2. PET metal heating film, the heating speed is very fast, a few seconds of heat, safe and fast
3. Rocker switch, waterproof, dustproof, beautiful and safe
4. Switch design, can be directly mounted to the mirror lens holder, no need to punch, no damage, very simple
5.DC 12V input, suitable for all motorcycles, very wide range of use
Installation Method
1. Put the heater on the handlebar and adjust it to the proper position.
2. Use a piece of tape to evenly fix (wrap) the heater to the handlebar, especially at the junction of the heater.
3. Put on the casing, adjust the position, and use a hot air gun (which can also use a lighter or a hair dryer) to blow the two creases of the outer casing longitudinally symmetrically until the contraction is uniform, and then evenly blow the other parts until the outer casing Each part shrinks evenly and evenly
4. The switch is mounted under the mirror of the rearview mirror
5. Connect the power cord. The red and black wires are not divided into positive and negative poles, but must be connected to the electric door lock (where the key is inserted).
Product Show
Смотрите так же другие товары:


